Create a basic blog page with Svelte

I have recently updated my portfolio from React to Svelte. Loving’ it so far!
My previous portfolio page didn’t had any blog entry, as I’m shy (and lazy) to write things down. New proposal for 2023, write something! 😄
This project was made with SvelteKit 1.0. The Svelte team released a few weeks back the stable version for SvelteKit and I wanted to give it a chance.
I will try to make it as simple as possible, so you can follow the steps and create your own blog page. I won’t include any styling or classes, only basic HTML, so you can add your own custom styles (but just to let you know, I will use TailwindCSS).
What do we want to show?
A post! Duh’!
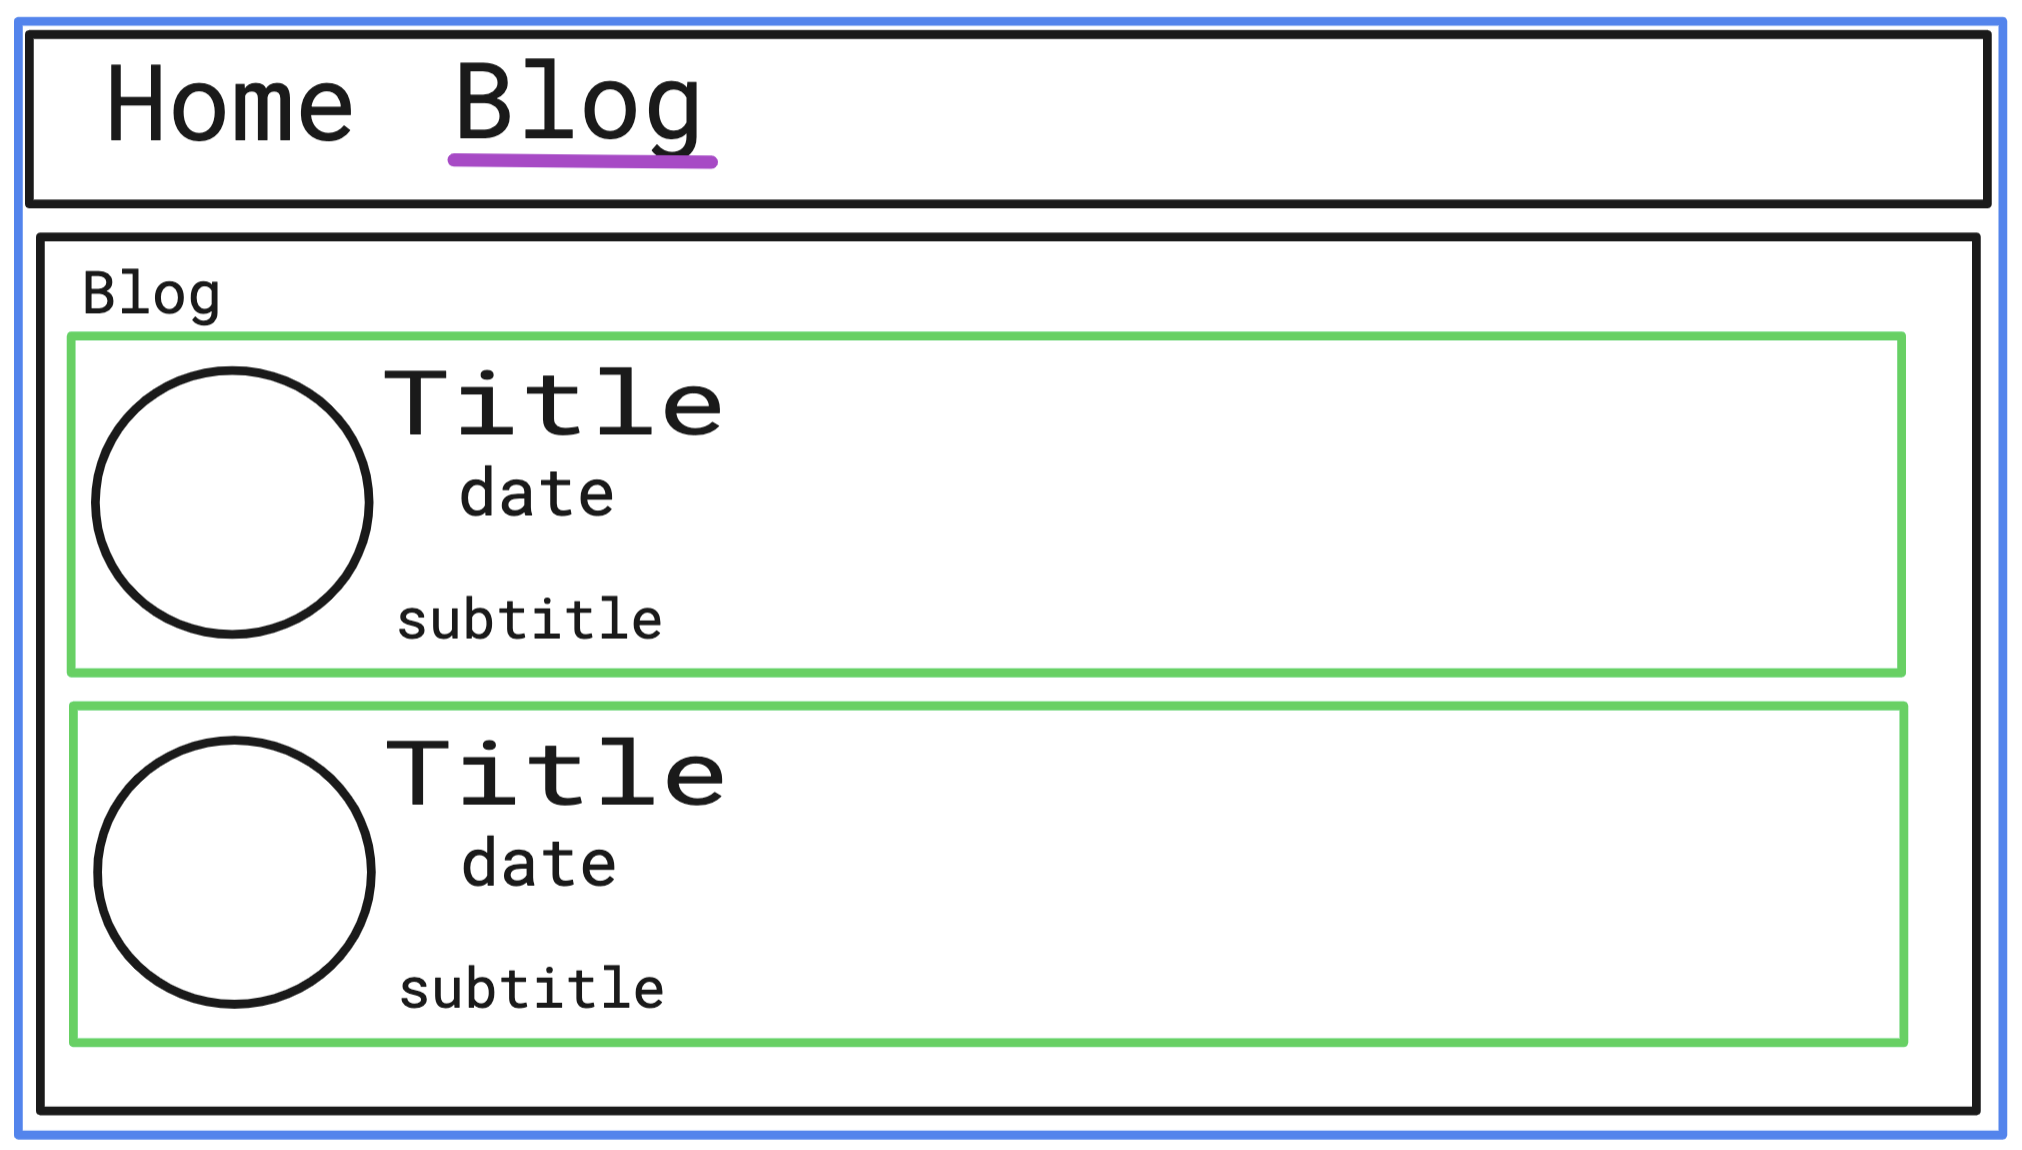
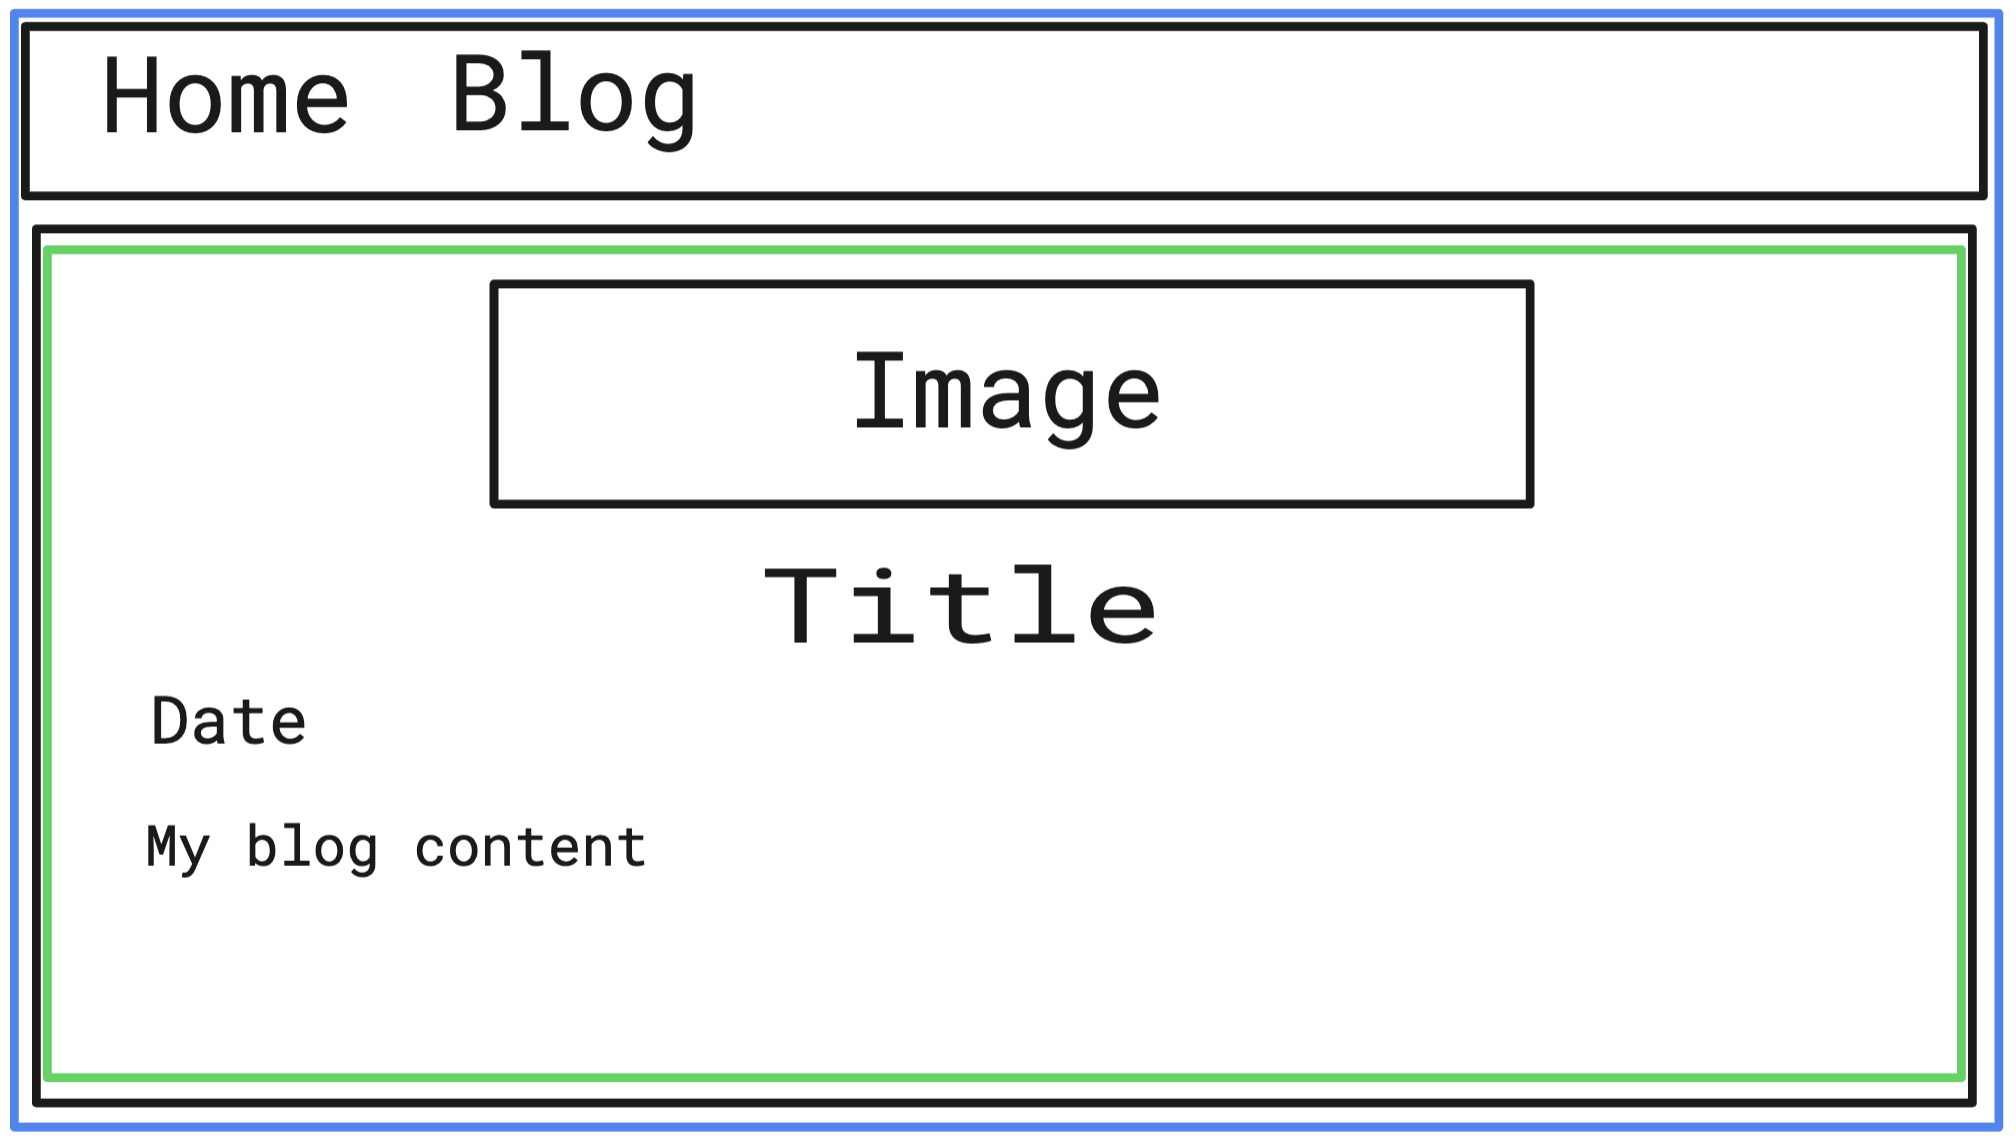
But wait a second, how will the blog page look like? And a post itself?
Well, let’s make a quick design for them. Something really simple that we’ll improve along the way.
Blog page mockup

Post page mockup

I know, I know, I suck at designing. But that’s why I’m a developer!
Hopefully it will look better after coding it.
Project structure
Ok, we have the idea of how it will look like. Let’s think how to begin.
First of all, we need a new page where the blogs will be contained.
As you know, SvelteKit is a filesystem-based router. So, if you want to create a new route, you just need to create a new folder inside the src/routes folder.
src/routesis the root route.src/routes/blogwill be the blog route.src/routes/blog/[post]will be the post route. It creates a route with a parameter,post, that can be used to load data dynamically when a user requests a page like/blog/my-new-post.
On each route, we can have the following files:
+page.sveltemain file for the route.+page.tsthe client-side code for the route.+page.server.tsthe server-side code for the route.+layout.sveltethe layout for the route.
Spoiler alert, these are the files that I’ll add into the project, or modify them:
my-project/
├ src/
│ ├ lib/
│ │ ├ assets/
│ │ │ └ fetchPosts.ts
│ │ ├ blog/
│ │ │ └ Posts.svelte
│ │ ├ posts/
│ │ │ └ my-new-post.md
│ ├ routes/
│ │ ├ blog/
│ │ │ ├ +page.svelte
│ │ │ ├ +page.ts
│ │ │ └ [post]
│ │ │ │ ├ +page.svelte
│ │ │ │ └ +page.server.ts
│ ├ types/
│ │ └ blog.type.ts
├ package.json
├ svelte.config.js
Don’t worry if you don’t understand everything. We’ll go through each file and explain what it does.
Adding new packages
I will be using Markdown as plain-text file format. It’s very handy as you have probably already write some documents with it (like the README.MD when creating a new project for Github).
Almost every text editor can be used to modify markdown, and there are specialised editors that automatically parse markdown as you type.
So, let’s add a package that will allow us to use markdown in Svelte:
npm install -D mdsvexConfiguring the packages
We’ll need to modify the svelte.config.js file:
const config = {
  // Consult https://kit.svelte.dev/docs/integrations#preprocessors
  // for more information about preprocessors
  preprocess: [
    vitePreprocess(),
    mdsvex({
      // https://mdsvex.com/docs#extensions
      extensions: ['.md'],
    })
  ],
  kit: {
    adapter: adapter()
  },
  extensions: ['.svelte', '.md'],
  prerender: {
    entries: ['*', '/blog/page/', '/blog/page/*']
  }
};

export default config;
Creating a new Post entry
Example for my-new-post.md file:
---
title: "New post entry"
date: "01-01-2022"
image:
    url: "/assets/blog/preview/cover.jpg"
    alt: "cover of my blog post"
subtitle: This post demonstrates how to create a new blog entry.
---

This post demonstrates how to include a Svelte component in a Markdown post.
The component is defined in the `src/lib/posts` directory, and imported in the Markdown file.
If you noticed, there is block of --- at the beginning of the file.
This is known as frontmatter, which is a YAML-like syntax that allows you to define metadata for the post.
I’ve included which seems for me the basic information for a blog post (but you can add more if you want).
Easy! We have our first blog post written! Isn’t that cool?
But yeah, still nowhere to be seen. Let’s make some magic!
Blog page
Let’s start with the blog page, where we will list all the blog entries.
First of all, let’s create a type for the blog entries. We will use it to define the structure of the blog entries.
blog.type.ts
export type Post = {
  slug: string;
  title: string;
  date: Date;
  image?: {
    url: string;
    alt: string;
  };
  subtitle: string;
};
Inside the Blog page, we will use a new component named Posts.svelte which will be responsible for rendering the list of posts.
Posts.svelte
<script lang="ts">
  import type { Post } from '../../types/blog.type';

  export let posts: Post[] = [];
</script>

<ul>
  {#each posts as post (post.slug)}
    <li>
      <a href="/blog/{post.slug}">
        {#if post.image}
          <div>
            <img
              src={post.image.url}
              alt={post.image.alt} />
          </div>
        {/if}

        <div>
          <h2>{post.title}</h2>
          <p>{post.date}</p>
          <p>{post.subtitle}</p>
        </div>
      </a>
    </li>
  {/each}
</ul>
We have the skeleton of the page, but we still need to fetch the list of posts.
For that, we will need to create a function (let’s name it fetchPosts) that will fetch the list of posts from the src/lib/posts directory.
Don’t worry if you don’t understand everything. This is the most ”elaborated” file and I’ll go through each function and explain what it does.
fetchPosts.ts
import type { Post } from 'src/types/blog.type';

/**
 * This function will import all the posts from the `src/lib/posts` directory.
 * It will get the front matter metadata and the slug from the file name.
 */
const processPostEntries = async () => {
  const data = import.meta.glob('/src/lib/posts/*.md');
  const postEntries = Object.entries(data);

  const postEntriesPromises = postEntries.map(async ([path, resolver]) => {
    const { metadata } = await resolver();
    const slug = path.split('/').pop()?.slice(0, -3);

    return { ...metadata, slug };
  });

  const postEntriesResolved = await Promise.all(postEntriesPromises);
  return postEntriesResolved;
};

/**
 * This function will sort the posts by date.
 */
const sortPostsDates = (posts: Post[]) =>
  posts.sort((a, b) => new Date(b.date).getTime() - new Date(a.date).getTime());

/**
 * This function will fetch all the posts from the `src/lib/posts` directory.
 * It will then return an array of posts sorted by date.
 */
const fetchPosts = async (): Promise<Post[]> => {
  const postEntries = await processPostEntries();
  const sortedPosts = sortPostsDates(postEntries);

  return sortedPosts;
};

export default fetchPosts;
Now, let’s fetch the posts in the load function of the page.
+page.ts
import type { PageLoad } from './$types';
import fetchPosts from '$lib/assets/fetchPosts';

export const load = (async () => {
  const posts = await fetchPosts();

  if (posts) {
    return { posts };
  }

  throw new Error('No posts found');
}) satisfies PageLoad;
At this point, we are able to fetch the posts files! But we still need to pass them to the Posts component. For that, we will use the data prop.
+page.svelte
<script lang="ts">
  import type { PageData } from './$types';
  import Posts from '$lib/blog/Posts.svelte';

  export let data: PageData;
</script>

<svelte:head>
  <title>Blog</title>
</svelte:head>

<h1>Blog</h1>
<Posts posts={data.posts} />
With that, we have the blog page ready! (don’t forget to add your custom styles!)

Post page
There’s only one thing left. Load the post clicked!
As mentioned before, let’s create a new route to load dynamically our posts (routes/blog/[post])
+page.ts
import { error } from '@sveltejs/kit';
import type { PageLoad } from './$types';

export const load = (async ({ params }) => {
  const post = await import(`../../../lib/posts/${params.post}.md`);

  if (post) {
    return {
      content: post.default.render().html,
      meta: { ...post.metadata, slug: params.post }
    };
  }

  throw error(404, 'No post found');
}) satisfies PageLoad;
Really simple, right? We just use the load function in order to import the post we have clicked, and return the content and meta information about it.
Final steps, let’s create the file +blog/[post]/+page.svelte in order to render the post:
+page.svelte
<script lang="ts">
  import type { PageData } from './$types';

  export let data: PageData;

  const post = data.content;
  const { title, subtitle, date, updated, image } = data.meta;
</script>

<svelte:head>
  <meta data-key="description" name="description" content={subtitle} />

  <meta property="og:title" content={title} />
  <meta property="og:image" content={image.url} />
  <meta property="og:type" content="article" />
  <meta property="og:description" content={subtitle} />

  <meta name="twitter:title" content={title} />
  <meta name="twitter:image" content={image.url} />
  <meta name="twitter:description" content={subtitle} />

  <title>{title}</title>
</svelte:head>

<article>
  <div>
    {#if image}
      <img src={image?.url} alt={image?.alt} />
    {/if}

    <h1>{title}</h1>
  </div>

  <span>
    <b>Published:</b>
    {date}
  </span>

  <div>
    {@html post}
  </div>
</article>
Moment of truth!
Wait! What? What’s happening?
You see, +page.ts is used when we need to load data before it can be rendered. And it runs alongside +page.svelte on the server during server-side rendering and in the browser during client-side navigation.
What we need is to load a function that only runs on the server in order to fetch the post.
For that, let’s rename +page.ts to +page.server.ts and use the proper function type.
import { error } from '@sveltejs/kit';
import type { PageServerLoad } from './$types';

export const load = (async ({ params }) => {
 const post = await import(`../../../lib/posts/${params.post}.md`);

  if (post) {
    return {
      content: post.default.render().html,
      meta: { ...post.metadata, slug: params.post }
    };
  }

  throw error(404, 'No post found');
}) satisfies PageServerLoad;
Let’s try it again!
Tadaa! 🎉 Isn’t it beautiful?
Adding just an extra
Have you ever faced a really long document but you could share a link to a specific section from a heading? This following plugins will allow us to have that logic.
- rehype slug: This will add
idsinto theheadings - rehype autolink headings: This will add
anchorslinks next to theheadingsaiming to theidsadded by rehype slug.
The installation is as easy as:
npm install -D rehype-slug rehype-autolink-headingsWe also will need to update the svelte.config.js file
import adapter from '@sveltejs/adapter-auto';
import { vitePreprocess } from '@sveltejs/kit/vite';

import { mdsvex } from 'mdsvex';
import rehypeAutolinkHeadings from 'rehype-autolink-headings';
import rehypeSlug from 'rehype-slug';

/** @type {import('@sveltejs/kit').Config} */
const config = {
  // Consult https://kit.svelte.dev/docs/integrations#preprocessors
  // for more information about preprocessors
  preprocess: [
    vitePreprocess(),
    mdsvex({
      // https://mdsvex.com/docs#extensions
      extensions: ['.md'],
      // https://mdsvex.com/docs#remarkplugins--rehypeplugins
      rehypePlugins: [rehypeSlug, rehypeAutolinkHeadings]
    })
  ],
  kit: {
    adapter: adapter()
  },
  extensions: ['.svelte', '.md'],
  prerender: {
    entries: ['*', '/blog/page/', '/blog/page/*']
  }
};

export default config;
And that’s it!
There is a lot more to do (like adding a search bar, pagination, etc.) and you can spend a lot of time on configuring mdsvex with plugins.
But I think this is a good start! 🚀